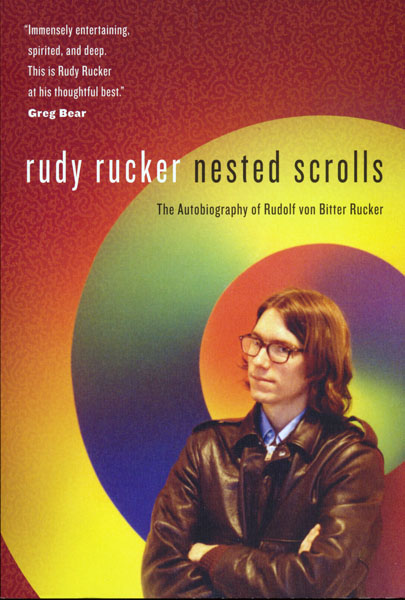
All this fall, here in 2011, I’ve been busy editing some twenty years of electronic journal files which I’m planning to publish as an ebook called Journals, 1990 – 2011, from my emerging Transreal Press in the early months of 2012. This book, Journals, 1990 – 2011, will weigh in at about half a million words, really too long to appear as a print book. It’s maybe five times as long as my new autobiography, Nested Scrolls. Certainly the autobio is more of a shapely book, but I am finding some interesting stuff in the old journals.
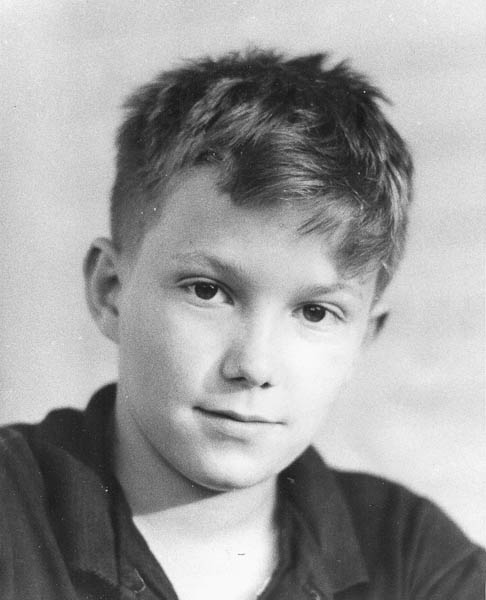
At this point I have rather a lot of unused photos that I wanted to post anyway, so I’m going to mix a couple of them in with journal excerpts from time to time. Today we have an excerpt written in 1994. My last Ramones concert. Even though you’re dead, you’re still my friends.

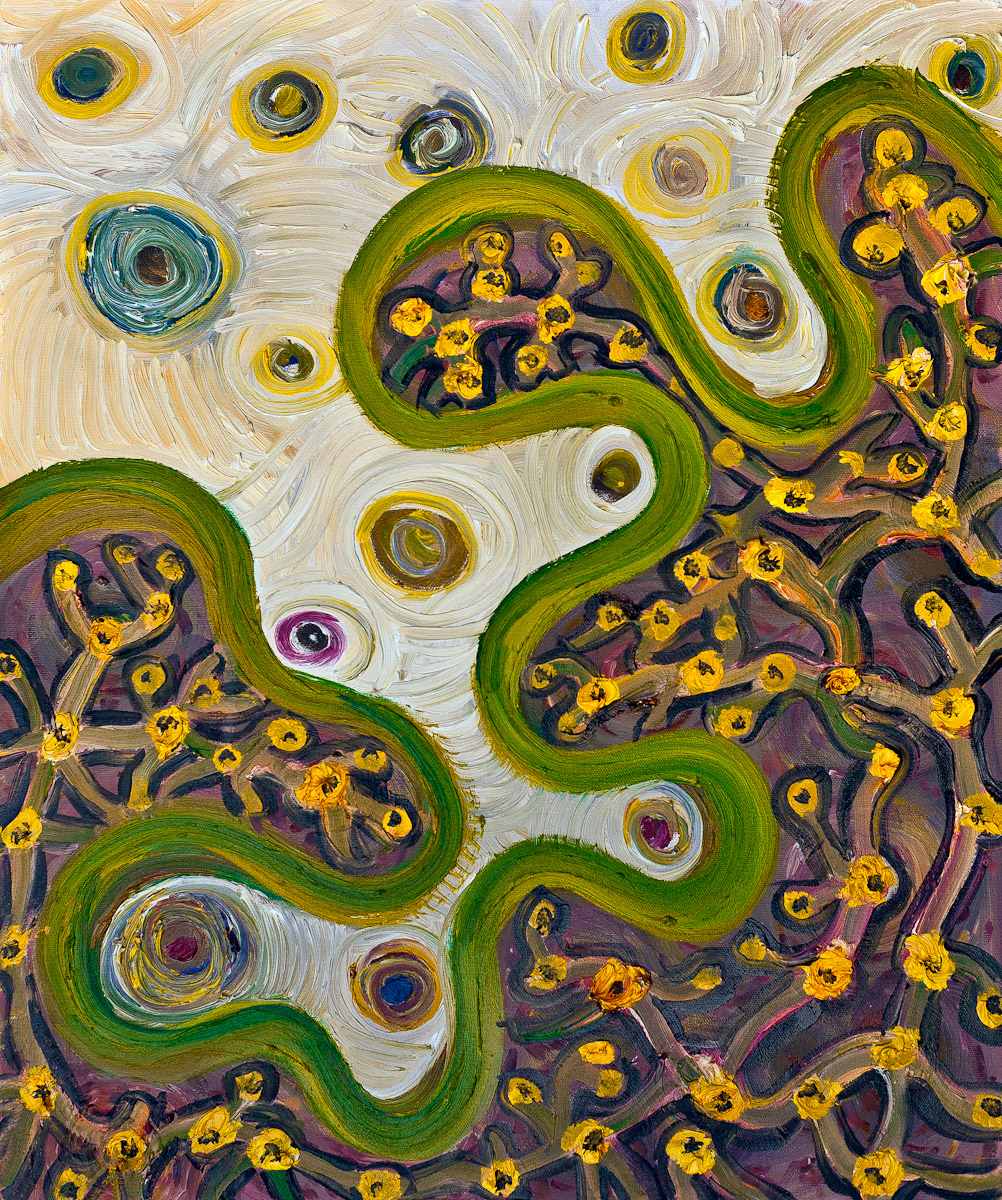
“On My Home Planet,” by Rudy Rucker, 20 x 24 inches, November, 2011, Oil on canvas. Click for a larger version of the picture.
It was the Ramones final tour, and on March 9, 1994, I went with my wife and children to see them at the Warfield on Market Street in San Francisco. My son, Rudy, Jr. got thrown out during the first song for stage-diving, which seemed quite unfair, as he’d often stagedived at punk concerts before and everyone had thought it was fine.
I managed to stay in the pit till almost the end of the main set. Thanks to my fitness I could hang in there pretty long. Although today I like can’t lift my arms, they’re so tired from fending people off. Whenever it would be relatively quiet and I’d be near Joey, I’d yell “My Back Pages.”
The newest Ramone, C.J. the bass-player, is the one who sings that song, though I didn’t actually realize that when I was yelling to Joey. They were off key almost the whole time, but then Joey said, “Cheap acid, cheap show,” and, perhaps in reaction, their playing got better. They did about five more songs and left the stage and people are clapping, and C.J. and Johnny and Marky come out without Joey, and tear into yes “My Back Pages”.
I love the wall-of-sound quality to it. They’re like crucifying this old Dylan-folkie song on the wall of sound. And the words to the song are so great. “But I was so much older then,/ I’m younger than that now.” Too true!
For this encore, C.J. and Johnny had put on fresh dry t-shirts. C.J.’s T-shirt is like a circle with a picture of the Manhattan skyline. And over that is a big red SS in that lighting-stroke kind of jagged S. And Johnny is wearing a Charlie Manson T-shirt, and draped on either side of Charlie are his crazy woman followers, like Sadie Glutz, and Squeaky Fromme, and the t-shirt says “Charlie’s Angels.” Squeaky once tried to shoot Jerry Ford with a .45 automatic pistol, she’s still locked up. Charlie Manson and SS, ripping the sweet thoughtful sixties folksong “My Back Pages” to frikkin’ shreds.

It was one of the most awesome multimedia presentations I’ve ever grokked. I went back in the pit, and the wave threw me up near C.J. I had my glasses off so they wouldn’t get clawed off, but then I wanted to put them on to be able to see him, and there was a crowd-surfer over my head, and I was thinking, “I’m busy with my glasses, so just this once I’m not going to reach up and push the guy,” so of course he falls on my head. But I don’t think it did any lasting damage.
[You can’t really find a good video of the Ramones doing “My Back Pages,” although there is what looks to be an amateur video of it, with fairly weak sound, shot in Buenos Aires in 1996. Note again that Joey isn’t on stage for this number and C.J. is singing. But you have to imagine it about ten thousand times louder.]

