


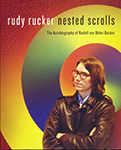
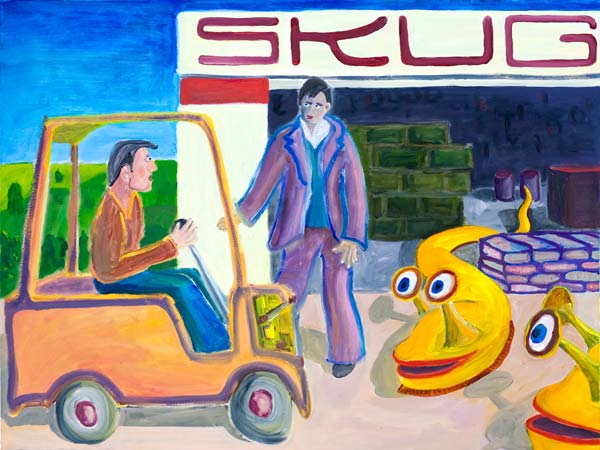
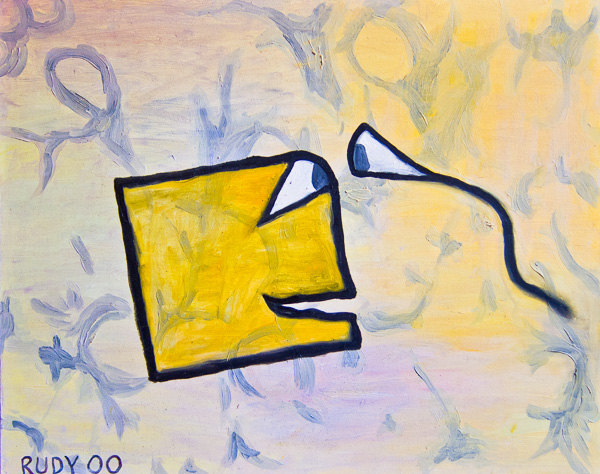
Today I’m discussing some analogies between writing and the visual arts (drawing and painting). By way of background, here are links to a bunch of my drawings (for Saucer Wisdom) and to my paintings.
(i) When drawing, I get some quick sketch in pencil, then ink it in, then have to white out pieces and redraw them. Or if I’m painting, the same thing, I just rough it out in light paint and see if it’s the right shape. I don’t actually have the ability to draw a person so they look exactly right on the first go. When painting I pick away at it with my brushes and colors until it looks okay.
In writing I try and write a rough version of the section pretty quickly, then go over it and tune it, and then there will be things that don’t work that I have to keep redoing. But eventually I feel it’s right. Versimilitude is a process, not a one-shot thing. And (side-point) photo-realism isn’t the only goal.

[A likeable punk roadie for The Recently Deceased, seen at the Anarchist Book Fair in Golden Gate Park.]
(ii) In drawing, whenever there’s a part I’m confused about—something tricky like two hands holding each other—I end up having to use lots and lots of white-out. Or if I’m painting I rub off paint and layer new paint over. And it ends up all bumpy and crufty and never does look as smooth and clean as the rest of the picture.
In writing, the transitions or actions I’m not clear about take the most rewriting and reworking. But I don’t think it’s necessarily true that a rewritten patch has to be bumpy and crufty as does a redrawn patch; in drawing the bumpiness is partly a result simply of the not-so-great physical properties of the white-out, or in painting it has to do with whether or not I bother to sand off the bumpy impasto layers beneath. But maybe gnarly cruft is okay too.
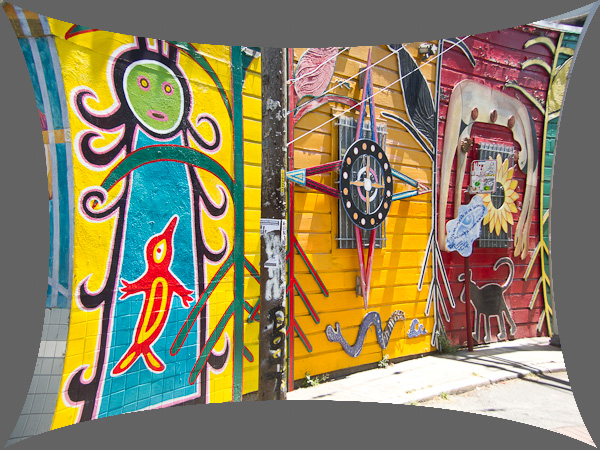
[Street murals in Balmy Alley off 24th St. in SF.]
(iii) When drawing or painting, I sometimes think that if only I could take the time to fully visualize the difficult passage then I’d be able to draw it clean and right the first time. But often it just seems too hard to think, and I go ahead and draw it or paint it wrong, just so I have something to work off of.
In writing, I’ll often think that if only I could fully think through a scene I could write it much more effectively. But many times it’s just too hard to think all that—I’ll feel like being active, in touch with the medium, so I just go ahead and write even though I’m not sure what I’m doing. And then I take it from there.

(iv) In both mediums, I need to realize that something that might have the superficial appearance of a finished piece, but that it’s really still a sketch or a first layer that needs to be reworked. I’m kind of surprised how prolonged a process it is to make a drawing or what I consider to be a finished painting. I hadn’t realized it would take so much revision. By long experience, I’m of course familiar with the huge amount of revision that a written scene takes. It’s kind of comforting to see that visual art can be just as hard.
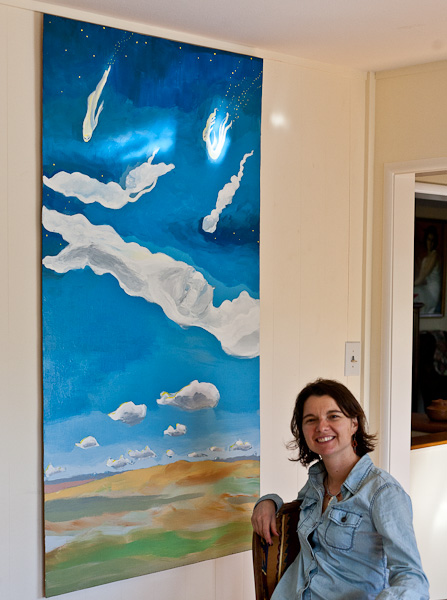
[Clouds’ Point of View , painting by Isabel Rucker.]
(v) My old art mentor Paul Mavrides says about art in general, “It’s not the realistic style that matters so much. It’s having something to say.” And this makes me feel free to write a little more cartoony and sketchy sometimes. Or to be more expressionistic in a painting. And in writing this idea helps me fight my feeling of being inferior to a fine literature exponent who creates beautifully textured descriptions and aperçus in a work that perhaps doesn’t have all that much to say.

[Copa Loca ice-cream parlor in the Mission.]
(vi) I worship the notion of “eyeball kicks,” as in the early cartoons by Will Elder in Mad and Panic. Elder’s eyeball kicks are, to me, of a piece with the piled-on detail of Bosch’s teeming works. A higher apotheosis is reached in the later Bruegel where there’s still very much action, but the surface doesn’t teem and wriggle, it’s harmonious and integrated. And this I try and fill up the surfaces of my canvases.
And Will Elder, Bosch and Bruegel have always been touchstone icons for the kinds of novels I want to write. Over the years I’ve felt like my writing has gotten closer to this ideal. It’s a matter of taking your time…without losing the thread.
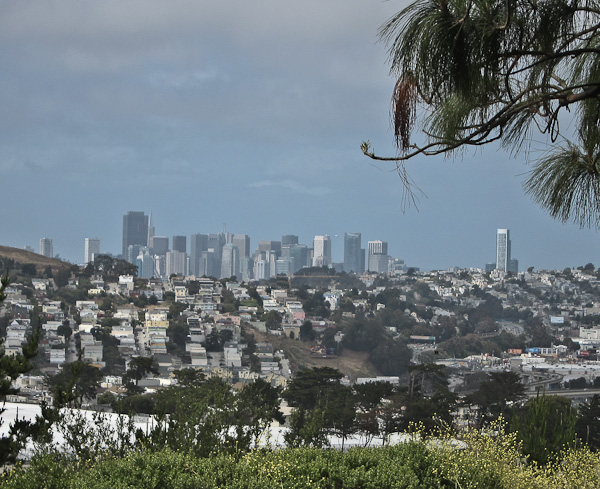
[View of SF from McLaren Park, reminds me of the crystal city in the background of a Bosch painting of Saint Anthony (not the triptych one).]
(vii) One problem in painting or in writing is how to suggest the endless levels of Nature’s span and detail while only using a square meter of canvas or a hundred thousand words. Painting and drawing use the trick of perspective at the high end. At the low end, a painter can use the fact that the fractal structure of paint is like the fractal structure of plants and dirt.
Writing uses the trick of narrative at the high end—suggesting a universal theme. At the low end, writing uses the telling detail, especially the cunningly selected and seemingly random detail. At first it doesn’t look like writing owns a shortcut fractal trick like paint-scumbling. But the fractal, multiply-linked nature of language is the Muse’s gift to writers. I’m thinking about the way that a word can mean so much more than it ought to. Just those few little letters hook into so many associations. A well-chosen phrase manages, like a skillful glob of paint, to signify more than itself.


