


I don’t think I mentioned this on my blog yet: I scanned my mostly handwritten notes on my conversations with the great logician Kurt Gödel during the years 1972-1977, and saved the scans into a single PDF . Once the download finishes (it’s about 15 meg), you can click the book-with-a-ribbon Bookmarks button on the left side of the PDF viewer to separate out the six different files. My notes are a little hard to decipher in spots, and often rather mathematical, but here they are for the historical record, treasures from the Rucker vaults.

Reading them, I was amused by my temerity in arguing about things with Gödel. Arrogant young pup that I was. But maybe he was entertained by that. I liked when in my 1975 phone call Gödel tells me, vis a vis the offbeat ideas about set theory I held at that time—“But no one in the whole world agrees with you.” He wasn’t one to soft-pedal his opinions.

And I like the bit in the very last 1977 phone exchange when, as an example of unpredictability or of free will, I’m talking about how one makes a decision about which shoe to put on first, and Gödel seems to say, “But why wear shoes?”
Maybe I can take that as a metaphor! But why wear shoes? Indeed.
Most of the notes are hand-written or typed, but here’s a doodle I made talking to him on the phone, March 10, 1972, mostly talking about set theory and transfinite numbers, with logic and philosophy of mathematics mixed in.
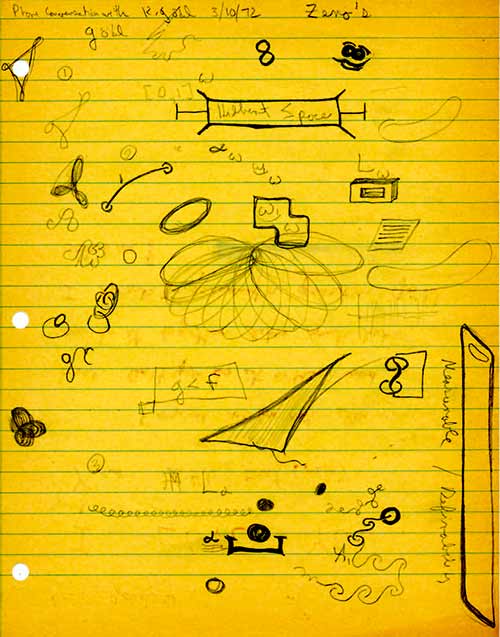
The good old days, my golden dawn.
For more on my meetings with Gödel see my memoir essay “Memories of Gödel” in the next post.


