I’ve been thinking about “virtualization” in various senses this week.
First of all, I’ve recently read some SF in which some characters are living (or might be living) in a virtual world that might be a subprocess of our own reality. I’m thinking both of Jonathan Lethem’s brilliant novel Chronic City and of Christopher Shay’s great Flurb story “IntheBeginning.”
Secondly, I’ve been listening to my son, Rudy, Jr., talking about how his and Alex Menendez’s internet company, Monkeybrains, can set up virtual machines for their clients to use as their “servers.” There’s a company called VMware that makes a business of selling virtualization tools.
So you might have two, or five, or more people using one and the same hardware box as their server, but with very little chance of interaction between their virtual machines. Ideally, there’d be no chance of seepage among the virtual machines, but in the real world, there’s always a hack. Rudy and Alex, as “Gods of the Cthonic Multiverse,” can certainly move information from one virtual machine to the other.
Trying to get my old free software programs to run in Windows 7, I discovered that I could download some free VM-style ware from Microsoft that pops up a window that’s running a virtual machine whose operating system is the older platform of Windows XP. And Cellab runs okay in there, and Boppers runs, kind of—except that it crashes a lot. And Chaos doesn’t run at all.
There are two odd things about depending on virtual machines to replicate past conditions. For one, there will inevitably come a time when more layers are necessary. Like in ten years, you might need to run Quibix 13, which runs a virtual machine with Windows 10, which runs a VM with Windows 7, which runs a virtual machine with Windows XP, which runs your legacy program.
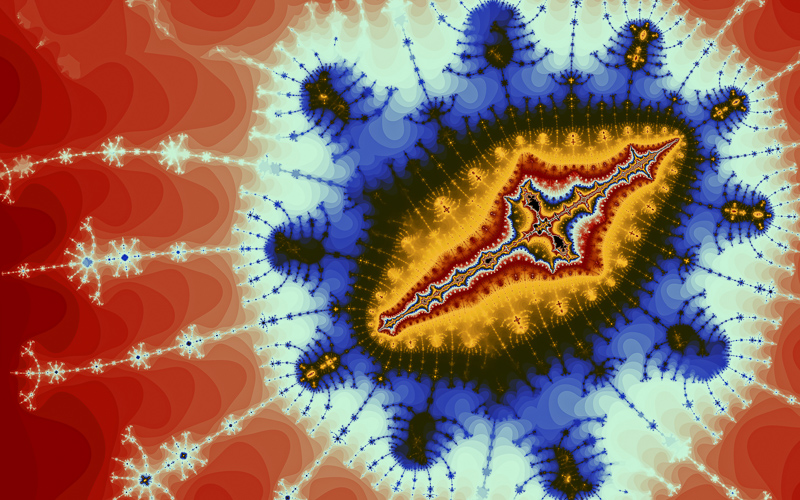
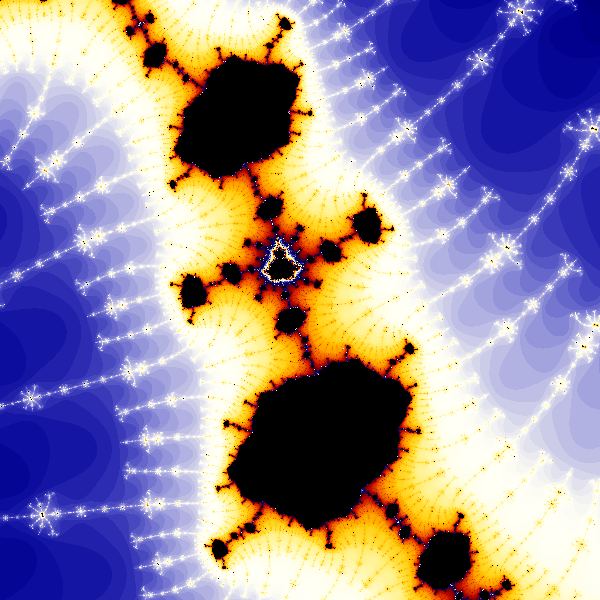
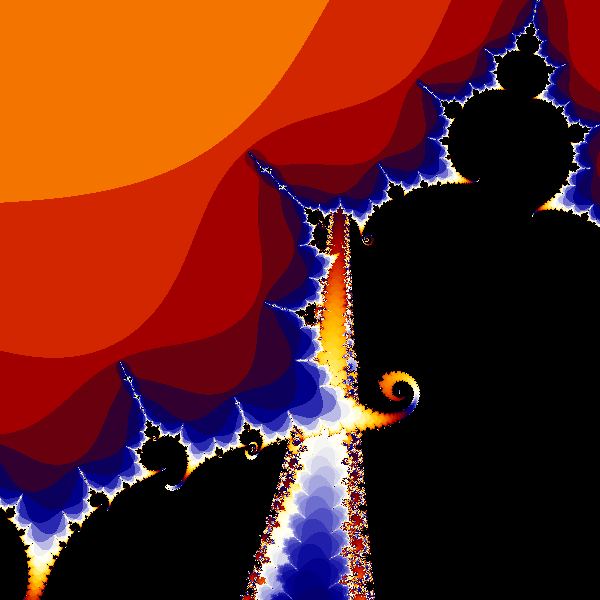
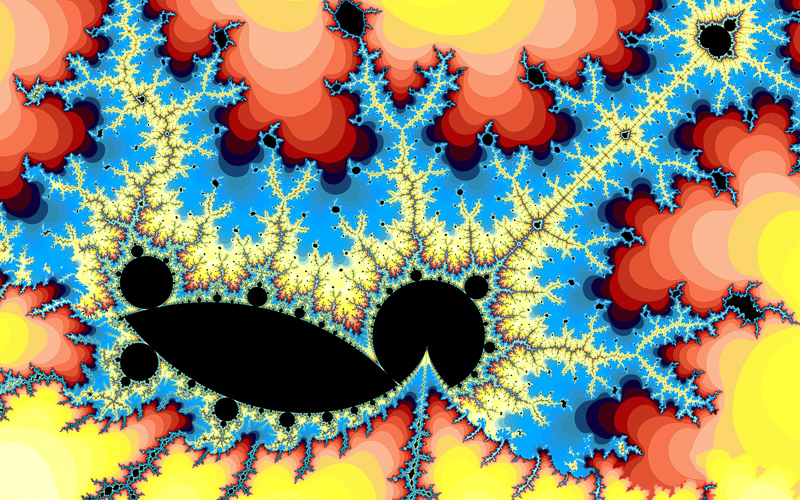
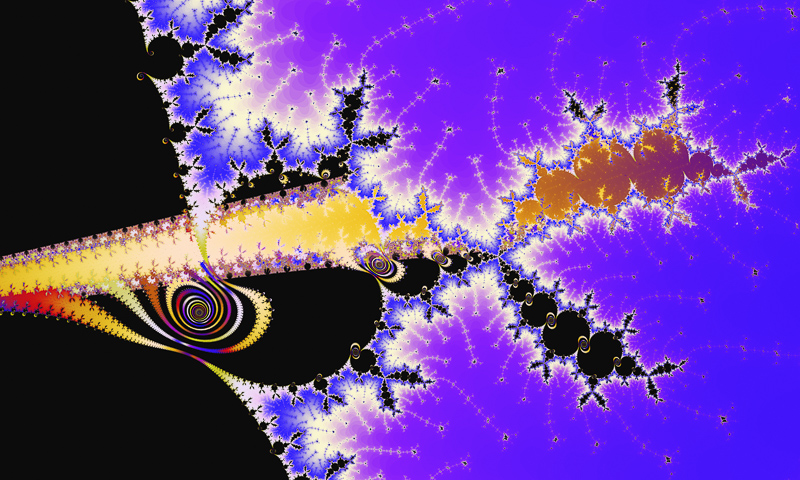
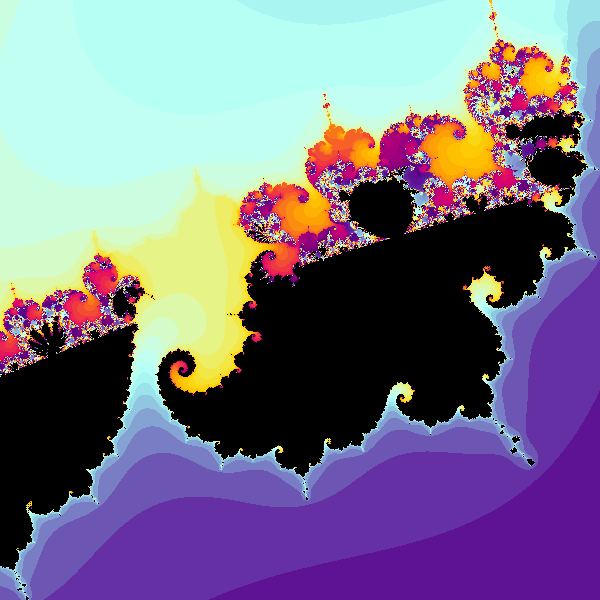
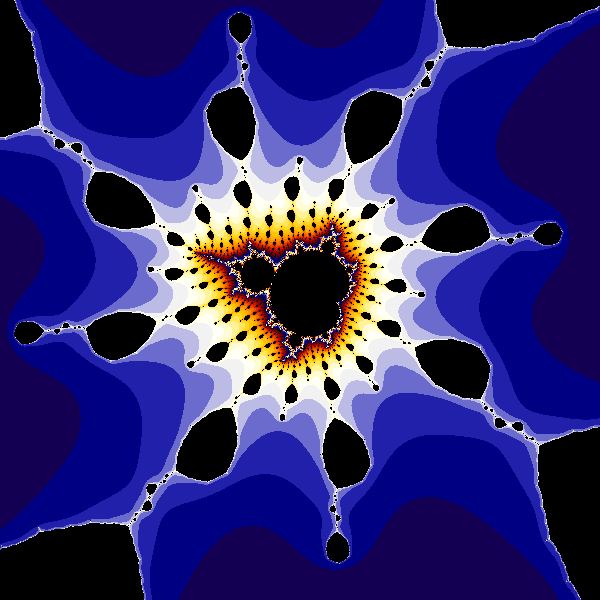
[Drawn with Ultra Fractal using latest online rvr.upr params RudyGuadalupe]
And the second odd thing is that the simulations will be imperfect. So get glitches that are kind of like supernatural phenomena. A patch of fractal fuzz, a ripple in the wall, a friend who explodes into angular scraps of computer-graphics “fnoor.”
It might be nice to science-fictionalize a situation where someone is living amid multiple layers of VMs—with crashes and glitches. Of course this theme has been treated before, it’s all been done before, but there’s always the hope of doing it with a little more intelligence and soul.
One path out of the VM stack is to meta-virtualize your ware. That is, you “port” it. You abandon the old shell of code, and excise the soul, the core algorithm, and install that in a new body. That’s what I ended up doing with Chaos last week. I ported my favorite fractal, the Rudy Set, from the moribund Chaos ware into the vigorous younger program Ultra Fractal.
Looked at in another sense when you build a house, you’re making a virtual world for yourself. A place where it’s warm and dry and the bugs and dogs can’t come in. A beaver dam is a virtual world, and so is an anthill.
When my old pal Peter Lamborn Wilson, a.k.a. Hakim Bey, writes about congenial gatherings as “Temporal Autonomous Zones,” he’s writing about virtualization—see his online TAZ article. Sometimes you manage to fall into a scene that’s out of this world. An alternate world to live in, an all-meat VR.
The use of the word “virtual” seems jarring in a physical context, as we think of virtuality as wedded to the notion of immaterial software. But in some sense, matter is a kind of software made up of quantum computations, so lets do go ahead and say that, for instance, a picnic blanket creates a virtual world emulation of a living-room rug.
I’m always trying to break away from the received idea that we need computers for interesting things. Post-chip computation was a big theme in my novels Postsingular and Hylozoic, not that this feature of the books was widely remarked upon. I see chips as a passing fad, like mankind’s earlier obsessions with clockwork, with radiation, or with electricity, or with chemistry/alchemy. Like I always say, a rock is a computer. He that hath ears let him hear.
These days, with no particular writing project in mind, more and more things are spontaneously taking on the look of SF stories. It’s how I see the world, particularly when I don’t have any particular goals in mind.
The other day, I was watching a DVD of a concert movie from 1964, The T.A.M.I. Show , with a very wide range of acts, including, near the end, James Brown followed by the Rolling Stones.
I like and respect the idea of James Brown, but his shows have never actually done much for me—not even when I saw him live at the Louisville State Fairgrounds in 1962, oh my brothers. It’s exciting to see someone acting so weird but, for my taste, Brown was too inner-directed. I always had a sense that he doesn’t actually see the audience. This said, I recognize that many people, such as Thom Metzger, think he’s great—see Metzger’s historically weird 1991 novel Shock Totem (today available for $1.57 on e-Bay) about a guy addicted to shock treatment and James Brown.
The young Mick Jagger and his band follow James Brown in the T.A.M.I. movie, and I’d thought I’d see a similarity in their dance styles. Surely the older man was a kind of role model for the younger. Certainly their shoes are similar. But the Mick of 1964’s dance moves are lackadaisical, quasi-ironic, more like sketches of things he might do. Meta-dance. He’s like the Ultra Fractal port of the Chaos version of the Cubic Mandelbrot set. At the time, many thought Mick inferior to James, but he was in fact doing something different. He was using a new operating system.
What impresses me the most in this performance Mick’s eyes—he’s so alert, watching the audience, the other band members, continually aware of his surroundings, although at certain points he too goes into the chanting trance of the singer.
In one cross-stage shot I could see the big-mama Electronovision cameras they were using to simulcast this concert to movie theaters—as well as to record it for posterity. And here, again, I had an SF feeling. The trope of the new transmission device. For 3D, or maybe for feelies, or telepathy, or matter transmission. But not exactly those old things…something more…
I’d like to go to that 1964 T. A. M. I. concert. Suppose we assume that time-travel is impossible. So then, the only way to go to the show is to virtualize the Santa Monica Civic Auditorium of 1964, and worm into that VR. Assume that I want the musicians and the go-go dancers to look exactly like in the film. And maybe I’ll go ahead and have it be in silvery shades of black and white. How do I get there?
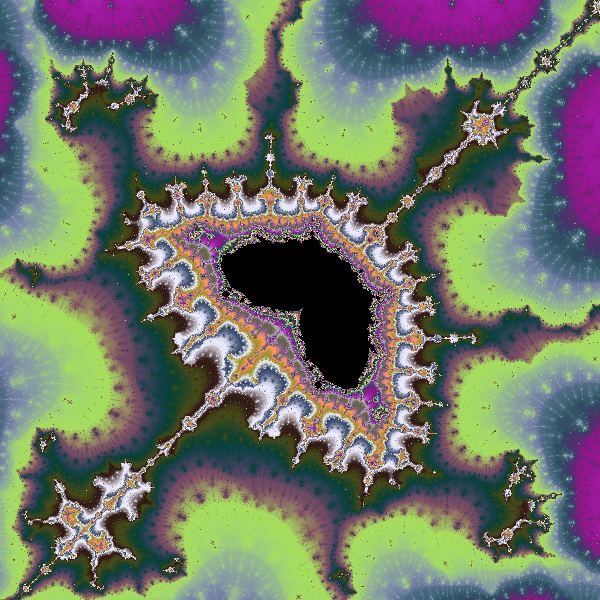
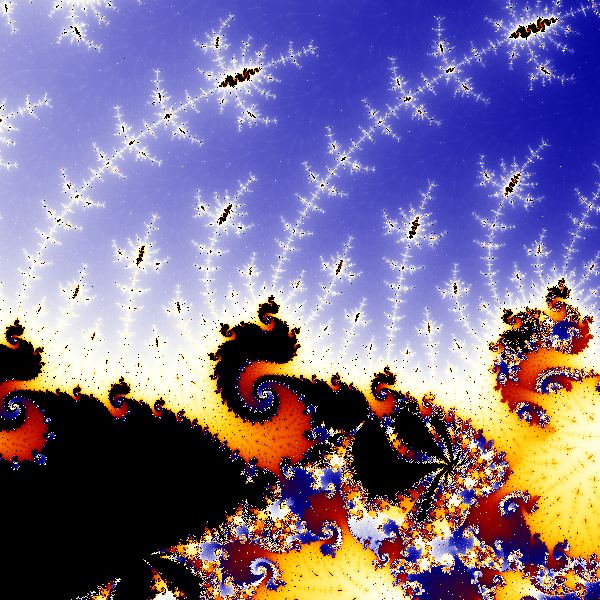
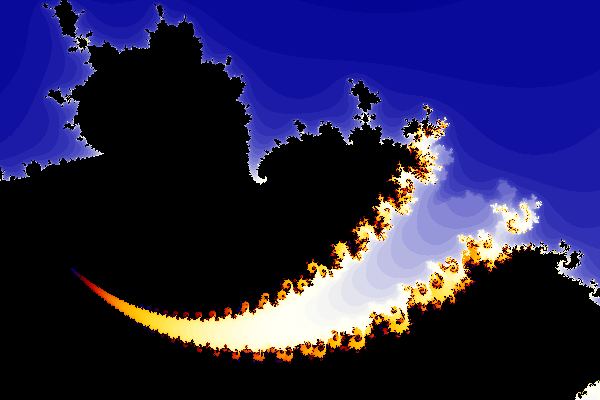
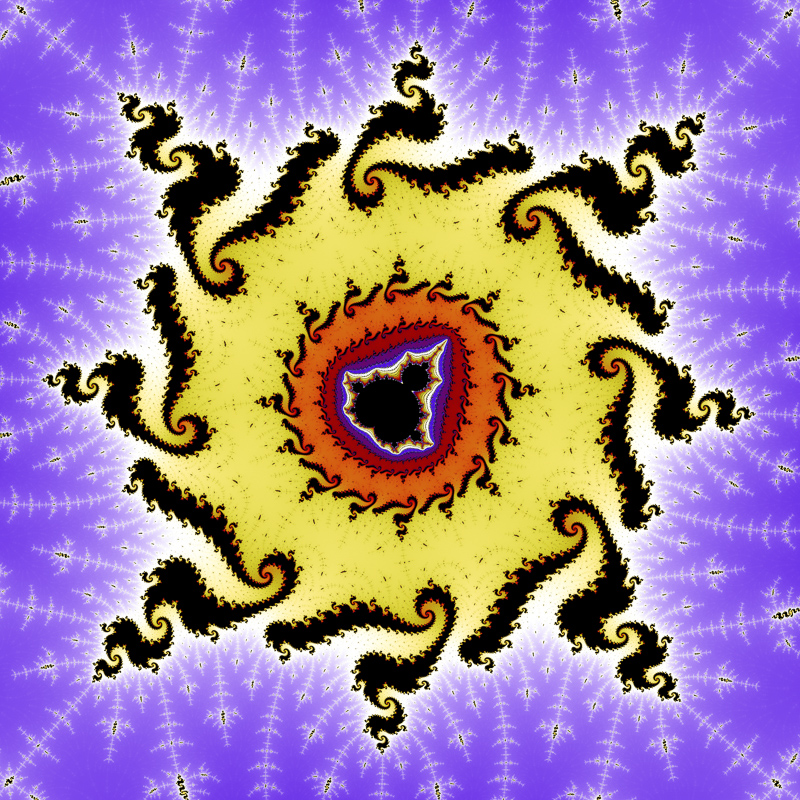
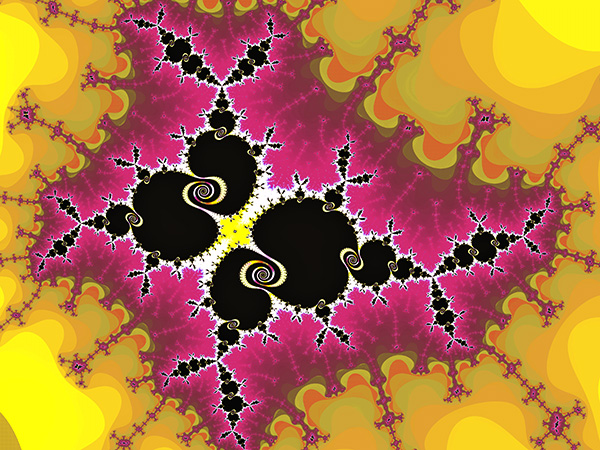
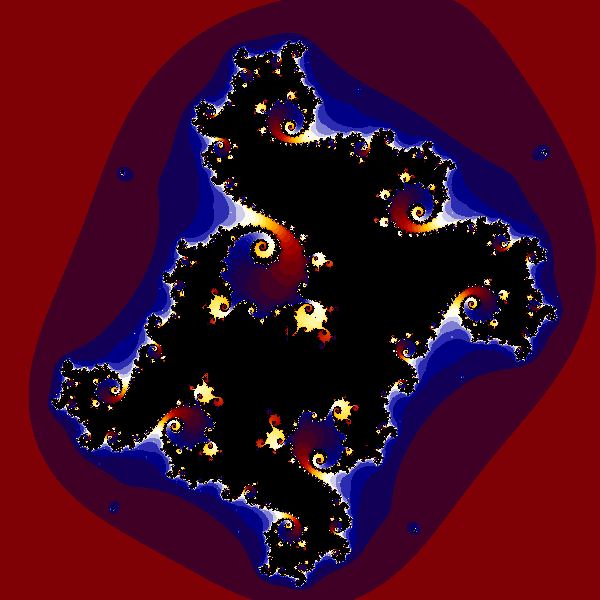
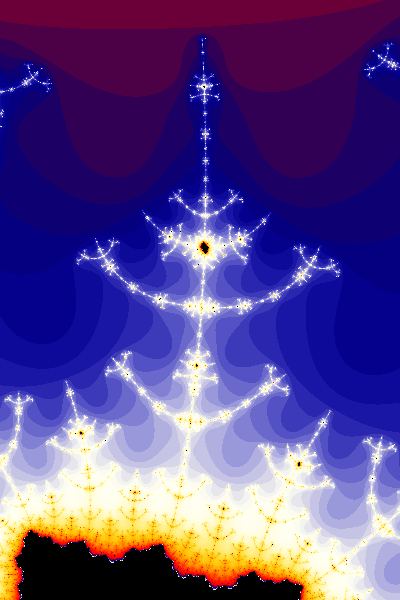
[Drawn with Ultra Fractal using latest online rvr.upr params RudyJellyfish]
The traditional way is to plug wires into my brain and jack me into a computer simulation. But—for reasons I’ve discussed before on this blog—I tend to think computer-based VR is never going to be all that convincing. The simulation should be in some sense physical, analog, perhaps based on quantum-computers, like the pocket-universe VRs that Christopher Shea talks about in “IntheBeginning.”
If you’re going physical, there’s no reason to dick around with corny wires in your brain. Make a damned tunnel to a bubble world. That’s the way to do it. I’m going there now. Maybe I’ll catch a buzz with Mick and Terri Garr—she’s the go-go dancer throwing her head around and then doing zombie-moves right behind Chuck Berry.
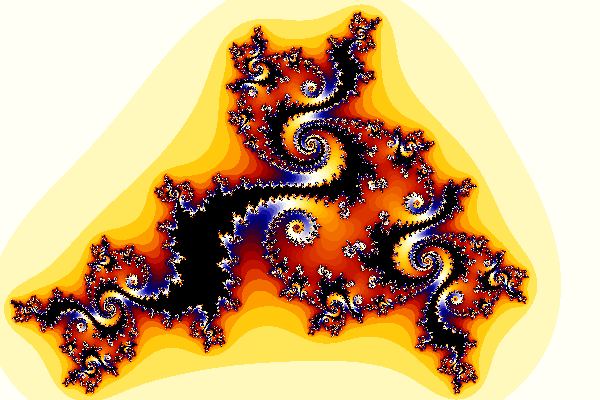
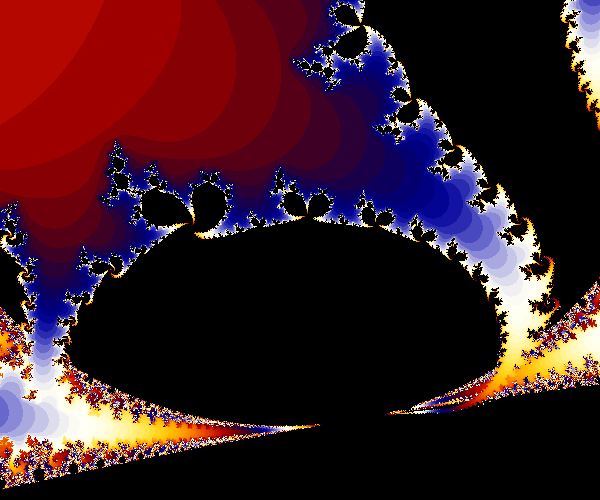
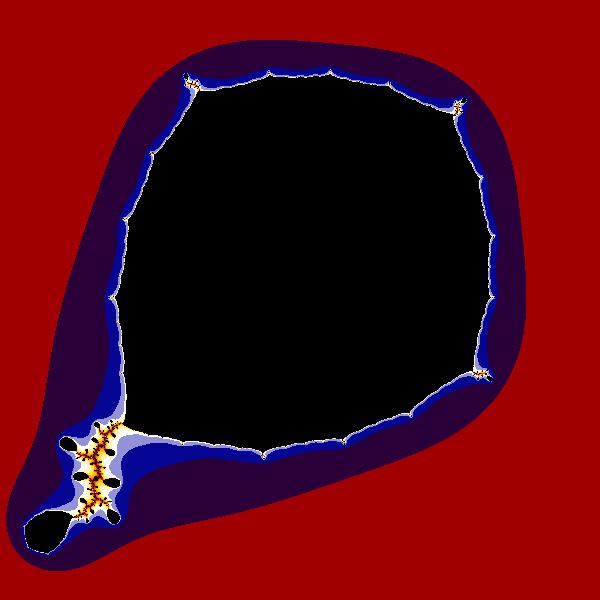
[Drawn with Ultra Fractal using latest online rvr.upr params RudyStarBranch]
Mick will have, of all people, the plain-jane songstress Leslie Gore on his arm. And we four will bop down to the beach and catch a ride on a chrome-gray UFO. We’ll ride the virtualization into the far future—all the way to 2010.
*On May 7, 2010, I began selling T-shirts with my fractals on the custom product site Zazzle at www.zazzle.com/rudyrucker. The first T-shirt on offer features a Cubic Mandelbrot’s WhoopDiDoo on the front and the Rudy set’s Sanskrit Mandelbud on the back.
* On May 4, 2010, I began selling art prints of these images at my Ultrafractals gallery at rudy.imagekind.com.
* On May 3, 2010, I added some more Cubic Rudy Set images, and I started claiming that the Rudy Set is the “true” or “ultimate” meta-version of the Cubic Mandelbrot set.
* On April 7, 2010, I expanded this post to discuss the Quartic and Quintic Rudy sets.
* On April 2, 2010, I started this post with a discussion of the general Cubic Mandelbrots and the Cubic Rudy set.
RudyRockets (detail of the Rudy Set). Lower down in this post is an animated YouTube zoom to the Rockets.
I gave an early version of this post as a talk at the Computer Systems Laboratory Colloquium Stanford University twenty years ago, on March 7, 1990, as “Computing Sections of the Cubic Connectedness Map.” The hardware designer John Wharton invited me. Some of this information also appeared in the manual for the James Gleick’s CHAOS program.
As I was discussing near the end of my previous post, CHAOS is unusable on the newer versions of Windows. So this week, I’ve been porting my favorite algorithms to the Ultra Fractal platform, and this post briefly describes the formulas and how to view them.
To run these fractals on Ultra Fractal, download a copy of Ultra Fractal 5 — you can get a free, (almost) fully featured, evaluation copy that’s good for a month. To see my Ultra Fractal implementations for the fractals I’m discussing today, you can just download all of the Ultra Fractal public formulas by clicking Update Public Formulas on the Options menu of the Ultra Fractal program.
My two public files are text files rvr.ufm and rvr.upr, which you can read online. The rvr.ufm file is a “formula” file that has the algorithms for the Cubic Julia, Cubic Mandelbrot, and Rudy sets written out as a text file in something like source code, along with a lot of comments explaining the process. The rvr.upr file gives the particular parameter settings used for certain especially attractive images. Note that lately I’ve been updating these two files every week or so—particularly the parameter file—so make sure you have the latest versions.
As I say, the rvr.upr file holds several sets of parameters for fractals—including, as I say, all the fractals whose images I’m showing today. When you download the Ultra Fractal public formulas, you can find my two files in the “Public Formulas” subdirectory of the Ultra Fractal directory. Open the Parameter File rvr.upr, and then click on the thumbnails or the names of the included fractals to see them run interactively. You can zoom in on them, pan, change the resolution, and more.
Detail of the MandelCubicWhoopDiDoo Cubic Mandelbrot Set.
Iterated Functions and the Old Quadratic Julia and Mandelbrot Sets
A map in the plane is some system for finding an image P’ of each point P. If f is a map in the plane, and f maps z into z’, I can express this either by writing z’ = f(z) or by writing z –f– > z’. Given an f and a z, we can define a sequence zn by:
z0 = z, z1 = f(z), z2 = f(z1, and in general, zn+1 = f(zn).
In terms of f,
z –f– > z1 –f– > z2 –f– > z3 –f– > z4 –f– > …
For some starting values of z, the zn sequence hops around within some bounded region of the plane, and we say z is bounded under f. And for other start values of z, the zn sequence heads off across the plane towards infinity.
The Julia set for a map f is defined as the set of all z in the plane which are bounded under f. Symbolically, the Julia set for f is { z : z –f– > FINITE )}.
The quadratic map fc given by fc(z) = z^2 + c has been widely studied. The Julia set for the fc map is called Jc. They became popular in the 1980s, along with a kind of “directory set” called the Mandelbrot set, which can be defined equivalently as M = { c : Jc is connected}, or , M = { c : the origin is in Jc }.
The Cubic Julia Sets
Okay, now for the good stuff!!! The maps which the Cubic Julias and Cubic Mandelbrots are based on have the form fkc, with fkc(z) = z^3 – 3*k*z + c
For each fkc we can define a cubic Julia set Jkc by: Jkc = { z: z–fkc– >FINITE }.
Why do I write fkc(z) in the particular form that I do? As discussed in Bodil Branner and John Hubbard, The Iteration of Cubic Polynomials, Part I: The Global Topology of Parameter Space, if you write polynomials in certain special ways, it’s easier to locate the so-called critical points of the polyonomials. More on this point later on. For now, the point is simply that, by moving the origin of our coordinate system and a judicious choice of k and c, we can in fact write any cubic polyonomial in the indicated form.
To graphically represent the Jkc sets, each pixel position on the screen is identified with a distinct complex number c, and we look at c’s behavior under the map, which generates successive zn values. If zn is more than, say, 4 units way from the origin, we assume the sequence is headed for infinity, and give the pixel a color based on the value of n. And if zn stays within the boundary distance for as many steps as we check, then we assume that the pixel represents a point inside the set, and we typically color these points black.
Unlike in the quadratic case, these cubic Julia sets Jkc are generally not symmetric. Some of them are connected, like these two.
JuliaCubicAsteroids
JuliaCubicTwirly
Some are connected but not totally disconnected (made of numerous separate connected
patches) like this one:
JuliaCubicChunks
And some—who we won’t bother showing— are totally disconnected, like clouds of dust.
It has been proved that Jkc is in fact connected if and only if both the complex numbers k = a +ib and -k = -a -ib are in Jkc. These are the critical points of the fkc map that I was talking about above. We’ve written the cubic in the special form z^3 – 3*k*z + c precisely so that the critical points have a simple definition: k and -k.
As Jkc is not symmetric, it may happen that only one of k or -k is in Jkc. Jkc is connected only when both of these critical points are in Jkc.
Cubic Mandelbrot Sets
The four-dimensional set of all complex pairs k and c such that Jkc is connected is known as the Cubic Connectedness map, or the CCM. Why do I say four dimensional? Well, k has two numbers inside it in the form a+bi, and c also holds two numbers. Ranging over four parameters gives you a 4D space.
I never have understood why the Cubic Connectedness Map isn’t much better known! For some odd reason, my fellow fractal fanatics have consistently snubbed or misunderstood this incredibly rich vein of gnarl.
CCM = { (k,c) : Jkc is connected}
or, putting it differently,
CCM = { (k,c) : ( k –fkc– > FINITE ) AND ( -k –fkc– > FINITE ) }
The way our program depicts the CCM is to show various two-dimensional cross-sections of it. These cross-sections are what we call Cubic Mandelbrot sets. If, for instance, k is fixed, then we can look at the Cubic Mandelbrot set Mk.
Mk = { c : Jkc is connected}, or
Mk = { c : ( k–fkc– >FINITE ) AND ( -k–fkc– >FINITE ) }.
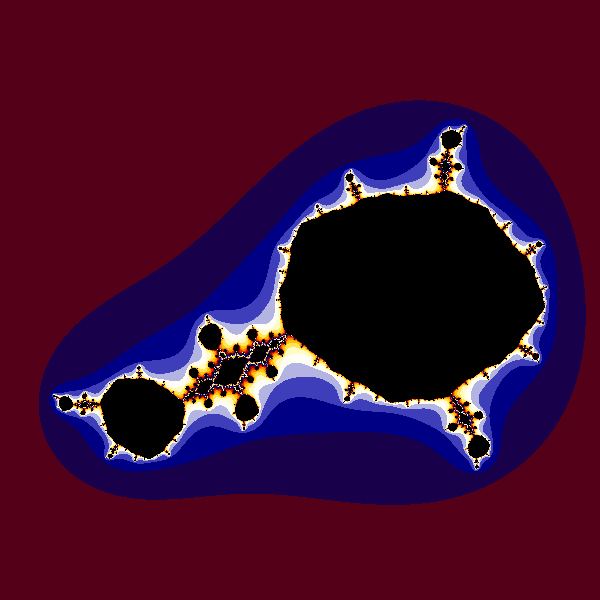
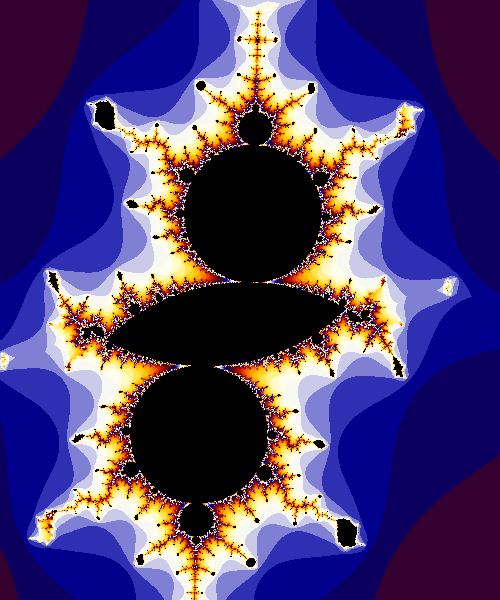
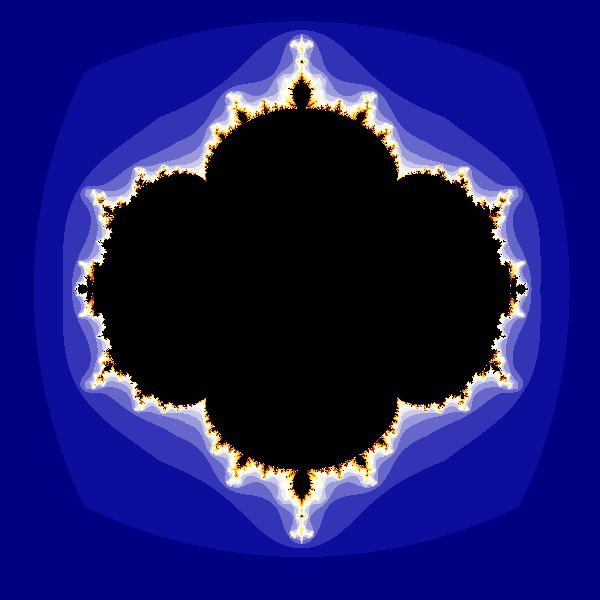
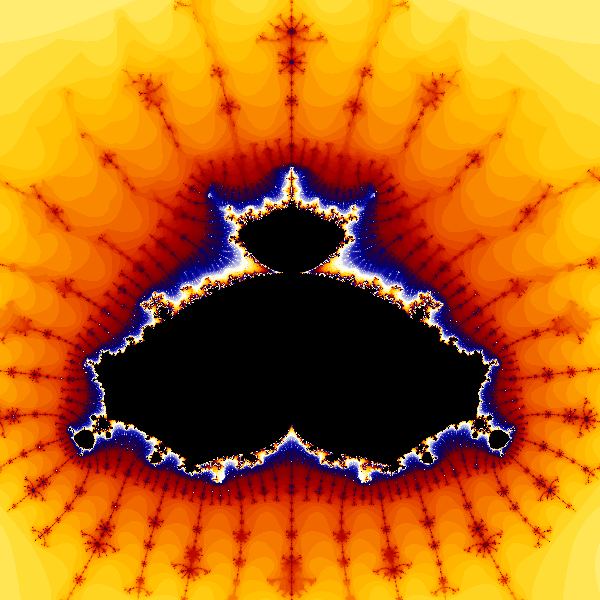
It turns out that that Mk is symmetric around the origin, that is, if c is in Mk, so is -c. If k = 0+0i, one gets a degenerate Mk with fourfold symmetry; this is the default Cubic Mandelbrot set that I have as the MandelCubicBasic parameter. This rather boring fractal is, sadly, the only well-known cubic Mandelbrot. Most fractal explorers neglect all the other—much more interesting—Mk.
The boring MandelCubicBasic
Note that a small change in the K parameter makes it more interesting.
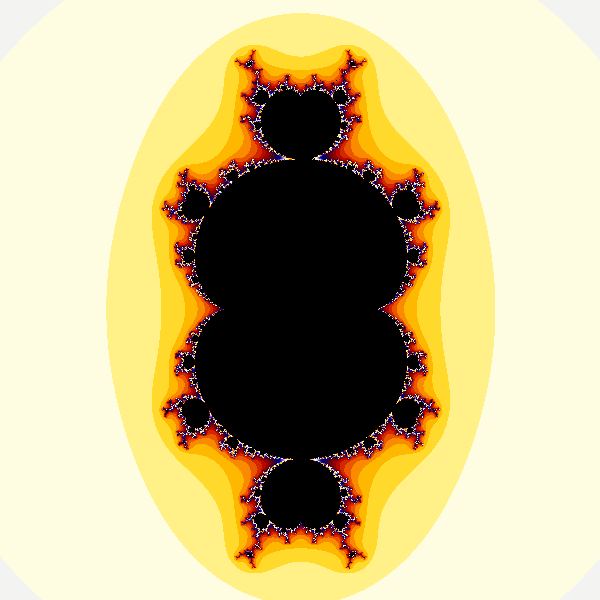
The interesting MandelCubicStack
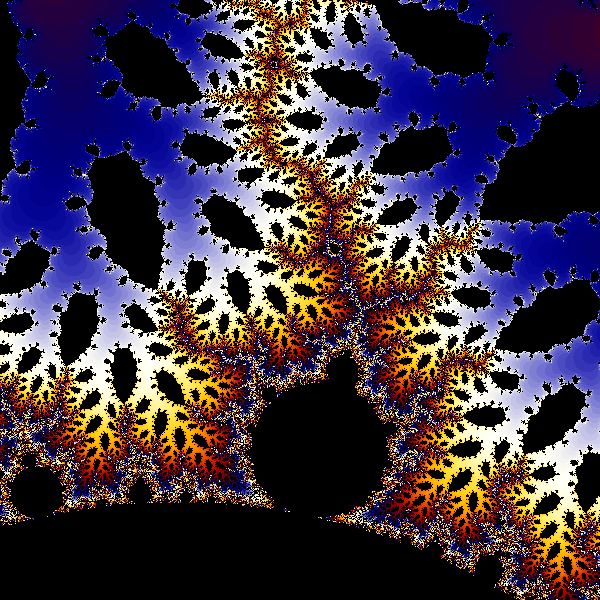
And things get better.
Detail of MandelCubicInvasionOfTheHrull
One often sees small replicas of the pieces of the quadratic Mandelbrot set inside the Mk, though sometimes with wedges cut out of them.
Detail of MandelCubicPacMan
By slightly varying the two components of the k parameter, one can look at k-sections near each other, and try to visualize stacking them one atop the other. Looking at successive sections, I have formed the impression that the Mk re like cross-sections of a three-dimensional Mandelbrot shape, buds all over it—the semi-mythical beast called the Mandelbulb.
As I mentioned above, the full CCM is in fact four-dimensional, and this shows up in the fact that many of the bud cross-sections have pieces missing from them. As an aid to mathematical visualization, I think of it this way. The CCM is like a three dimensional solid which is free to move pieces of itself to arbitrary time locations. Thus if a section of a bud seems to have the right half missing, we might think of the left half of the bud as being in Monday and the right half of the bud as being in Tuesday, with your cross-section being computed at the Monday time coordinate. I use time not at all in a physical sense here, but simply for the vividness of the image.
Some of the Mk details are fairly amazing.
Detail of MandelCubicZipper
As well as the cubic Mk CCM cross-sections, we can also compute
Mc = { k : Jkc is connected}, or
Mc = {k : ( k–fkc– >FINITE ) AND ( -k–fkc– >FINITE ) }.
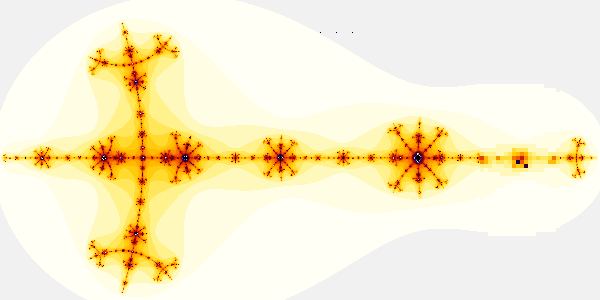
The Mc are, to my eye, not as interesting as the Mk. But you can look at them and decide for yourself. Here’s one that has a certain gruff charm.
Detail of MandelCubic(Cplane)Ogre
I would very much like to view 3D sets which are stacks of Mk sets (or stacks of Mc sets) that arise as one varies, for instance, the real part of k from -1 to 1. I have a lingering hope that these objects may look bulbous rather than taffy-like, despite the lack of success of some preliminary investigations. See my blog post on the Mandelbulb for more on this topic.
The Cubic Rudy Set is the TRUE Cubic Mandelbrot Set
An apparently new fractal which I have enjoyed investigating is this.
R = {c : Jcc is connected}
= {c : c is in Mc}
= {c : ( c-fcc– > FINITE ) AND ( -c –fcc– > FINITE) }.
I immodestly call this the Rudy set, although it may be that pros like Branner, Douady, or Hubbard have their own name for it. As I say, I first starting working with this set some twenty years ago, but computers were pretty slow back then. In the last few days, using Ultra Fractal, I’ve seen much more detail of the Rudy set than ever before. Images that used to take hours to render can pop up in seconds.
Note that the Cubic Rudy Set has an absolute or non-relative quality, in that it avoids the choice between the Mk and Mc Mandelbrot Cubics, each of which are a certain kind of orientation-dependent cross-sections of the Cubic Connectedness Map. By going down the Jkk in the definition of the Rudy Set, we reach down to something that’s not relative to any specific orientation. Note also that we could equivalently define the Rudy Set as {c : c is in Mc}. For this is just {c : Jcc is connected}, which is the same as {k : Jkk is connected}.
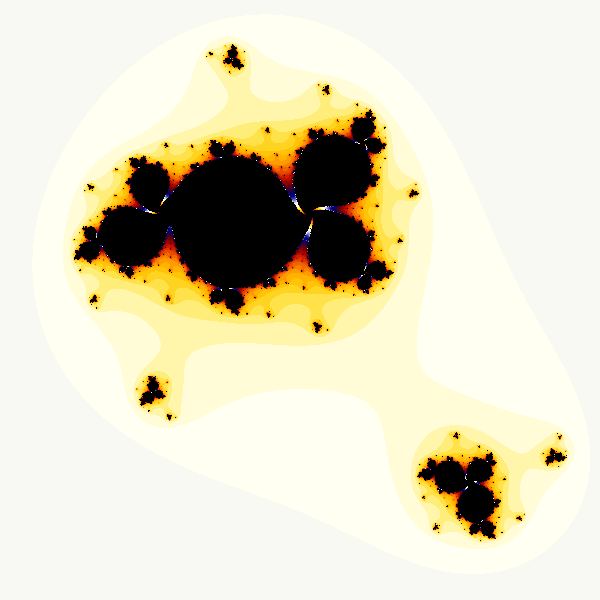
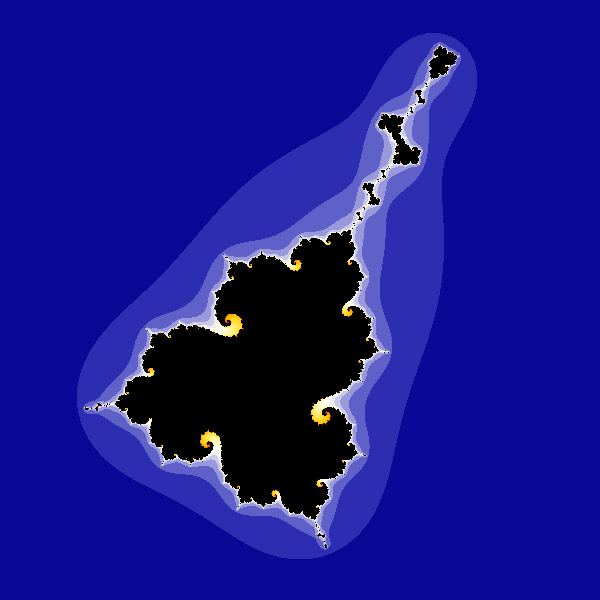
The Rudy Set
Compare the definition of R as {k : Jkk is connected}to the definition of the Mandelbrot set M as { c : Jc is connected}. This makes me think that R is a good generalization of M, in some ways better than the Mk or Mc.
Actually I would go so far as to argue that the so-called Rudy set is the TRUE cubic Mandelbrot.
Standard Quadratic Mandel: {c : Jc is connected}
So-called Rudy Set (which is really the TRUE Cubic Mandelbrot): {c: Jcc is connected}
Slam dunk!
R is an object which is extremely rich in unusual fractal structures. One good region is the plume between 2 and 3 o’clock relative to the whole set. I call this area “Mars”.
RudyMars
An image like a rocking horse is found in the Mars region of the Rudy set. This horse is one of my favorite spots.
RudyHorse
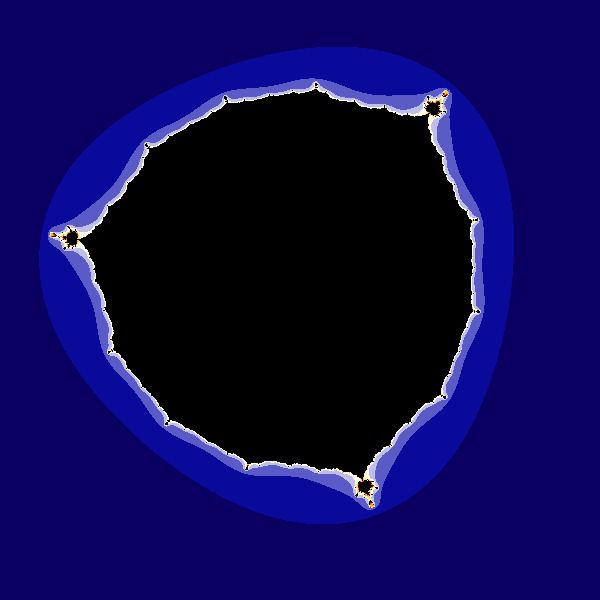
Another good region is the spike at the top, at 12 o’clock. There is an interesting structure there that is a bit like a Mandelbrot set, but considerably gnarlier. I call it FatBud. This is a great region for gnarl.
RudyFatBud
The Julia sets from inside the Fat Bud zone are lovely and spidery—branching patterns of connected lines.
JuliaCubicFromRudyFatBud
And here’s a YouTube movie of a zoom in and out of the Rudy set, with the turnaround point at the “RudyRockets” image at the start of this post. Note again that you can find all of these locations by using my online UltraFractal parameter set rvr.upr.
“Rockets” zoom into the Rudy Set.
I keep finding more and more great stuff in the Rudy set. All these parameters are in the online text file rvr.upr, which I’m updating every week or so.
Lots of little Mandelbrot sets turn up inside the Rudy set.
RudySanskritBud
I recently found a really powerful region in the first miniMandelbrot bud above the top of the Redy set. There’s an exawatt particle beam blasting out to make the RudyParticleBeam.
And near the ParticleBeam are some globs of paired twirly things I call the RudyIsopod.
And down inside the very center of that gap at the core of the RudyIsopod is a mini-Mandelbrot set, RudyMandelInTwirls
This looks better all the time…
The Quartic Rudy Set
I was puzzled about how to find the critical points for fourth degree and fifth degree polynomials. Googling for the answer, I found a series of articles by the Swedish fractalist, Ingvar Kullberg, who is one of the only people who’s gotten into making images involving the Cubic Connectedness Map. And his article “28) To derive the optimal iteration formulas for polynomials of degree d,” has the reference to pp. 151-152 of the crucial article by Bodil Branner and John Hubbard that I mentioned earlier, The Iteration of Cubic Polynomials, Part I: The Global Topology of Parameter Space.
Without going into too much mathematical detail here, suffice it to say that we can write the general quartic polynomial as
fmkc(z) = z^4 + 2(mk -(m+k)^2)*z^2 + 4mk(m+k)*z + c
The z which don’t run off to infinity under iterations of this map form the quartic Julia set Jmkc.
Jmkc = { z: z–fmkc– >FINITE }.
A JuliaQuartic, pretty natty.
And Jmkc is connected if and only if the following three critical points are in Jmkc: m, k and -m-k. And the Quartic Connectedness Map would be the six-dimensional set of all complex triples (m,k,c) such that Jmkc is connected. The Mandelbrot cross-sections of the Quartic Connectedness Map verge upon resembling crushed pieces of trash in the street, I won’t bother showing one. Instead here’s the Rudy Quartic, which has a trefoil shape.
The RudyQuartic.
We can define the Quartic Rudy set R4 as follows.
R4 = {c: Jccc is connected}.
The three critical points will be c, -c, and 0, so,
R4 = {c: c –fccc– > FINITE ) AND ( -c –fccc– > FINITE) AND ( 0 –fmmm– > FINITE) }.
The three corners of the Rudy Quartic have things like Mandelbrots, with a very turbulent V-shaped spike.
And check out the floating sky palace in the Rudy Quartic in this area.
RudyQuarticSkyPalace
Here’s an animation zooming down into the RudyQuarticSkyPalace, past the RudyQuarticHeffalump and down to a mini Mandelbrot bud. I made the animation on May 28, 2010.
The Quintic Rudy Set
Finally we come to the Quintic Rudy set. First we define a fifth-degree polynomial map fnmkc with four parameters. For the gory details of the map, see the comments in the GeneralQuinticJulia algorithm in the pseudocode file rvr.ufm—which, as I mentioned above, opens as a text file if you click on it.
JuliaQuinticRunningMan is pretty nice.
And then we define the quintic Julia set Jnmkc, as Jnmkc = { z: z–fnmkc– >FINITE }. And, as before we find some critical points, four of them for each Jnmkc, and we can use the critical points to test if Jnmkc is connected.
The connected but asymmetric JuilaQuinticDangle.
We can also find a Quintic Mandelbrot set Mnkm = {c: Jnkmc is connected}. Poking around in one of them, I found a nice quadratic Mandelbrot shape surrounding by leopard spots of quintic gnarl.
The MandelQuinticLeopard.
Below is a video taken around the edges of a quintic Mandelbrot set. The video is 300 frames, and it took my brand-new maximum speed computer thirteen hours to compute! It ends with a zoom down to the MandelQuinticLeopard spot.
[Use Ultra Fractal and the rvr.ufm parameters to locate the MandelQuinticLeopard.]
And now, finally, we define the Quintic Rudy set R5.
R5 = {c: Jcccc is connected}.
In these somewhat degenerate Jcccc cases, the four critical points collapse to two points, c and -3c, so we can say R5 = {c: c –fccc– > FINITE ) AND ( -3c –fccc– > FINITE }.
The RudyQuintic is fairly unprepossessing.
But if you zoom in, you can find some kind of pretty stuff.
RudyQuinticEightfoldMandel
But I have to say that the basic cubic Rudy set seems more interesting. It’s like those high powers wash things out. I was actually frightened when I zoomed into the cubic Rudy set and found the region shown below. It was like I was too far underwater, or too far out in space.
Venture to the RudyExtraterrestrial if you dare.
In closing, note that you can in fact check the correctness of my old cubic Rudy Set, Quartic Rudy, and Quintic Rudy algorithms by using the Fractal Mode Switch feature. In Ultra Fractal, press F7 and move the cursor around over one of the three Rudy sets, and note that the corresponding Julia sets shown in the Fractal Mode window are connected if and only if the cursor is over a dark, interior region of the Rudy sets. While developing the algorithms, I in fact relied on this feature to make sure I wasn’t putting in bugs.
I’ll probably keep adding to this post as time goes by.
Remember , you can find it by using the simple URL tinyurl.com/rudyfractals.
So I’m well now. Thanks, all, for the kind wishes and the birthday greetings.
I’ve been taking a lot of photos lately, so today I’ll just run some photos with some recently arrived links, some remarks about the current state of my free software…plus a discussion of Jonathan Lethem’s Chronic City with a particular focus on the question, “What is a chaldron?”
My artist friend COOP told me about a site with information about Kanegon—if you scroll way down on the page linked to, you can find some video of Kanegon, who’s played by a guy in a rubber monster suit with a kind of garbage-can-top head mask—actually it’s a giant change purse. COOP sent me a great photo he took of his Kanegon models, seductively lit with colored lights. For more along these lines…and along other lines…see COOP’s photostream.
I got a Kanegon model for Xmas a few years back, and I modeled the Unipusker aliens of my novel Frek and the Elixir on them.
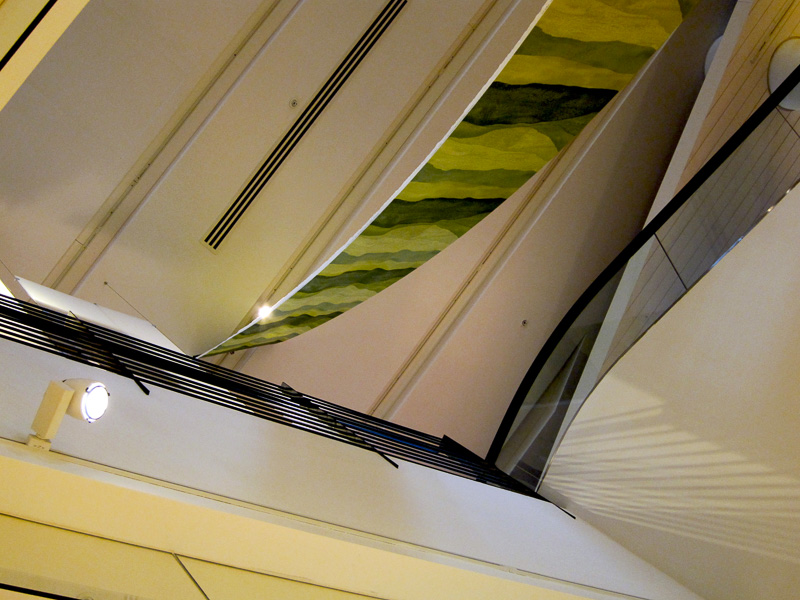
[A Buddha in the Asian Art Museum in San Francisco.]
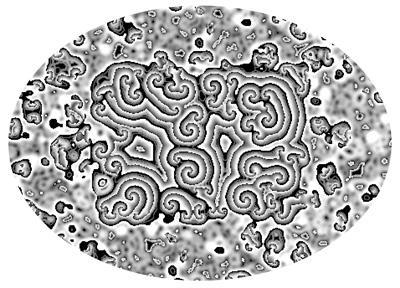
My young friend Eamon Carrig sent me a link to an interesting article about common forms of hallucinations as being somewhat predetermined as emergent chaotic patterns of the brain architecture—a little like how Zhabotinsky scrolls always turn up in cellular automata simulations. Eamon is part of an unclassifiable band called Math Panda, and runs a record company called FARC, for, “F*ck a Record Company,” this being an answer to the perennial question, “What’s your record company?”
I read Jonathan Lethem’s latest novel Chronic City a couple of months ago. I’m always interested to see what Lethem’s up to. Some years ago he might have been regarded as science fiction writer—see, for instance, the wonderful As She Climbed Across the Table. But somehow Jonathan completed the arcane and mysterious metamorphosis into a mainstream literary author.
A spoiler alert—some of the things I’ll say about Chronic City here will give away plot points, so if you haven’t read the novel yet, you might not want to read my comments yet.
I liked Chronic City a great deal, although I have a few minor complaints. Although it was to some extent a novel about potheads, I didn’t get enough of the raucous yellow-jello giggle vibe that one would typically expect from the stoner scenes—although, in all fairness, there were plenty of convoluted and paranoid rants.
The book felt a little overlong to me, with more scenes than necessary about people’s relationships and inner feelings. I tend to prefer seeing interesting things happening. Actually, Phil Dick’s novels also have the characteristic of going on and on about the characters’ worries and feelings. This is a writing quality that I call “wheenk,” because it makes me think of a trapped rabbit going, “Wheenk, wheenk, wheenk,” in terror and despair. But tastes vary, and a large amount of wheenk is probably helpful in making it out of the SF ghetto.
My largest criticism would be that Chronic City seems to drop the ball on one of the key SFictional elements in the book. I’m talking about the gorgeous, pricy, vase-like objects called chaldrons, no two of which are alike. After building up intense interest in the chaldrons, Jonathan rather abruptly dismisses the chaldrons as somehow being both (a) imaginary virtual reality icons like little accessories that you might buy in some online game such as The Sims, and (b) real-world hologram displays being created by individually tweaked software algorithms.
First of all, I’d been hoping that the chaldrons would be something with a little more SFictional punch—like aliens, or concretizations of Blavatsky-ectoplasm, or nanogoo growths.
Be that as it may, the real problem is that Lethem’s two explanations for the chaldrons don’t seem to jibe—how do they connect with each other? And why exactly are chaldrons rare and expensive?
If I were to fix this flaw, I might propose that some behind-the-scenes computer genius is crafting algorithms that create the chaldron shapes—one algorithm per chaldron. And he or she is selling the algorithms in two alternate forms: either (a) as plug-ins that create an image of the chaldron within your game world, or (b) as some chip-embedded (and encrypted) software that can be placed in a tabletop hologram generator that will display a stand-alone image of the chaldron.
Possibly—although Jonathan doesn’t say this, and (frustratingly) we never see anyone successfully buying a chaldron—when you buy a chaldron, you get both the standalone display and the game plug-in.
To make this explanation really percolate, you’d want for the algorithm-discovery-method to plug into a Perkus-Tooth-type paranoid obsession with the patterns of society. So maybe the algorithms aren’t so much based on formulae as on statistical power-spectrum analyses of pop-culture stuff that people are doing. The number of bags of popcorn sold in a certain movie theater. The page hitcounts on our hero’s dying or dead astronaut wife. The number of hairs on a Gnuppet. The shapes of all the burgers sold in a favorite Wild West style café. The chaldrons emerging from the actual life of the virtual Chronic City.
Anyway, the chaldron explanation is a little muddled and incomplete as it stands, and if I were Lethem, I’d consider correcting it in time for the paperback edition of Chronic City, but of course that’s not a realistic suggestion.
Even though I’m acting like I know what I’m talking about, I have a lingering feeling that maybe I’m missing something. One of the pervading images in Chronic City is of Manhattan as a kind of alternate reality—akin to a videogame world. This is a good simile, as it fits the feeling that you get when living in or visiting there. Might Lethem want to be saying that, in fact, the world of his novel is in fact an artificial reality? We’d have to accept that the “gnats in a bottle” characters are in fact entertaining themselves with a yet smaller VR inside theirs. In this case, the two explanations of the chaldrons are even more closely related, by the way.
I’m inclined to think that Jonathan might not want to use by-now-somewhat-tired Matrix-type (or, indeed, Dickian) move of saying “the characters are in a virtual reality and they don’t know it.” But SF is, after all, largely about recycling tropes, so maybe that’s what he’s doing. There are a couple of magical-realism aspects of the “Chronic City” that suggest that some deeper weirdness is in play.
The most conspicuous of these is the tiger that keeps destroying parts of the city. Earlier in the novel, people are saying the tiger is “just” an artificially intelligent digging machine that now and then goes rogue. But near the end, in a haunting scene, our hero sees the tiger go padding by in the falling snow, huge and magical.
And at the very end, the narrator notices that the positioning of the buildings he sees out his window have very slightly changed. Is there a coherent explanation? In some sense this isn’t the most important question. SF is really a kind of surrealism. And the explanations that we tack on are just a genre convention. When I’m writing SF, I very often simply go for the effect that I want to see—and make up the “explanation” later. People unused to SF don’t actually care about the explanations anyway. They just enjoy the wonder of the unsettling events.
What is reality?
Lethem has a beautiful writing style, and the characters are memorable, with great dialog. One of the characters is being interviewed by the New Yorker profile, and the quirky outsider Perkus Tooth asks him, “How does it feel to finally ride the hegemonic bulldozer?” There’s a transreal touch, given that, being a regular contributor to the New Yorker, Jonathan himself is definitely on the bulldozer. And we genricized SF writers are more like Perkus Tooth…
It’s worth mentioning that Lethem has done great service for the SF field in editing three collections of Phil Dick’s novels in classy Library of America editions.
Last fall Lethem wrote a fascinating, dreamy essay about Phil Dick, “Crazy Friend,” which he put online at his website. It’s a searching, thoughtful piece that almost makes me ashamed to be nitpicking against Chronic City. Lethem very clearly knows what he’s doing with his writing, and there’s really no reason it should conform to my personal expectations.
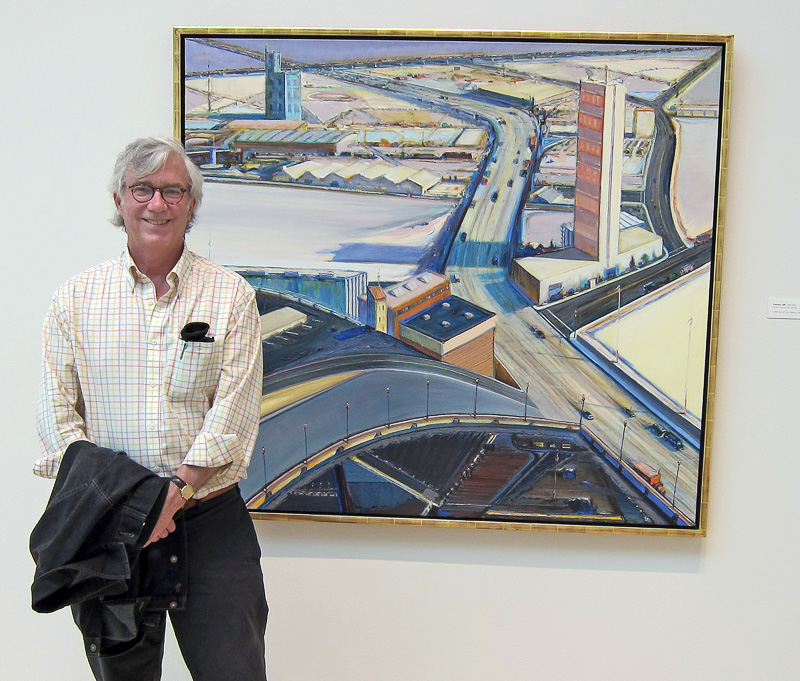
There’s a wonderful show of Wayne Thiebaud’s paintings at the San Jose Art Museum. How did my humble home city of San Ho score such an illustrious show? Well, they’ve had a couple of big Thiebaud shows at the San Francisco museums in the last ten years, so we got to have this one. It’s mostly paintings from the Thiebaud family collection, many of which I’d never seen before.
Thiebaud is just about my favorite contemporary artist. He has an amazing ability to dig the gnarl out of the most ordinary kinds of scenes—he’s done lyrical, cosmic paintings of freeways, for instance. I like how he uses color too, the edges he puts on things. And he’s a master at dancing between abstraction and realism, staying right on that edge.
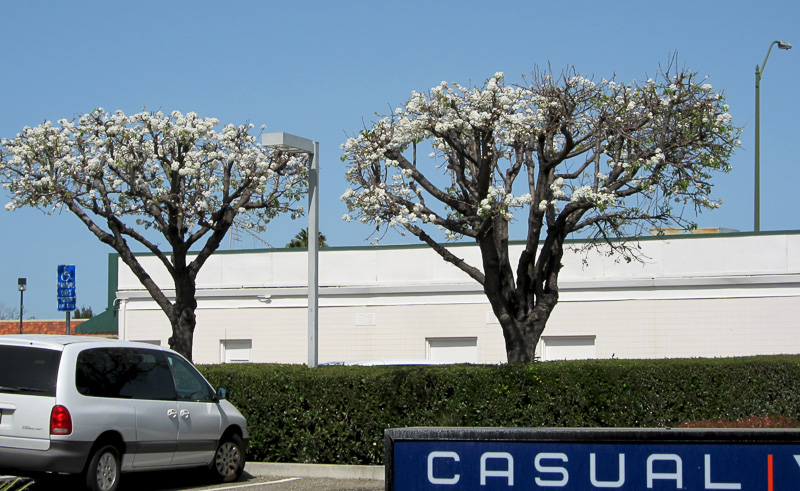
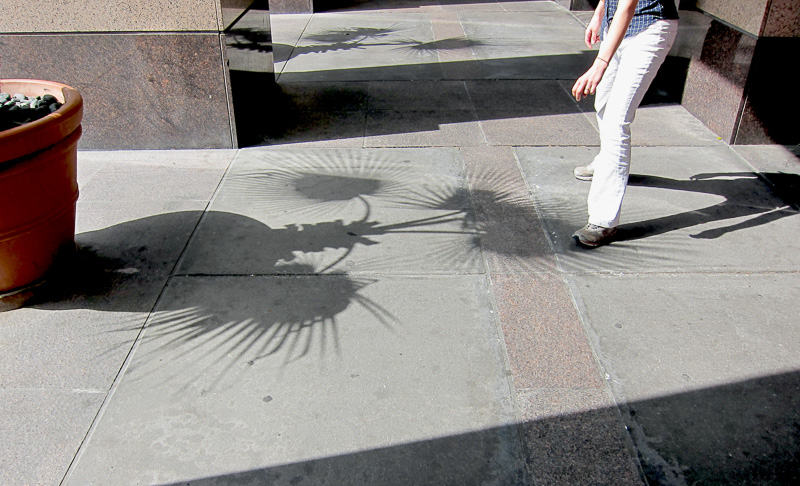
[Spring at the mall, Santa Clara, California.]
I upgraded to the 64-bit version of the Windows 7 operating system this week, and I’m still tweaking my machine. I made the sad discovery that some of my free software isn’t working on this platform, although it survived the last five or six revisions of Windows. Cellab, Chaos, and Boppers have all fallen beneath the karmic hammer.
John Walker wrote most of the code for Cellab, and he probably could upgrade it to work in the latest Windows—knowing John this would take him about one day. But, no—I asked him about this, and he says he no longer has any Microsoft software on any of his machines. Regarding my description of Windows 7 as an upgrade, he says, “Then it wasn’t an upgrade, was it? Sounds like they blew away 16 bit DOS emulation support.” Continuing in his characteristically passionate-about-programming style, he writes:
I can’t understand any developer who doesn’t make money from it wanting to be jerked around like a monkey on a chain by Microsoft, screeching “OOK” and jumping on the keyboard every time one of their “upgrades” breaks existing software developed with their own tools and compliant with all the standards for the prior release.
When somebody complains that one of my legacy programs doesn’t run on this or that Microsoft piece of pooware, I respond, “That’s Microsoft’s problem, not mine”. I will eventually remove all of the Microsoft-specific stuff from my Web site.
(I did find a kind of VM (virtual machine) fix, at least for CELLAB—it’s described in a comment below.)
Fixing Chaos might be impossible, as it depends on a third-party “terminate-and-stay-resident” DOS-based graphics driver called Metashel. Conceivably Josh Gordon, who did most of the coding on the Chaos project, would have an opinion about the possiblity of a fix, but I don’t think I’ll bug Josh about it…it’s been nearly twenty years now since we wrote the Chaos ware. And I would imagine that Josh, being a hard-core programmer like John Walker, has moved on to Unix as well. Or entirely away from programming. At some point enough’s enough.
But just now I’m again in the mood for a taste of programming. Anything but start another novel!
Instead of rehabbing Chaos, I’m having a look at the Ultrafractal software which a lot of fractal fiends use these days. As a way of postponing getting back to writing, I’m implementing formulas for the extra fractals that I put into Chaos, such as the cubic Mandelbrot and the Rudy set…more on this in a later post.
The C source code for Boppers is online at the program’s home page, and I think that if someone were to recompile it with a modern compiler the executable probably would be okay in Windows 7. But, with Walker’s words in my head, I can’t really see rebuilding Boppers with the latest Microsoft compilers. In some sense it’s futile to keep upgrading my wares, as the operating systems are always moving on.
The good news on the bit-rot front is that my more recent program, Capow, still works in Windows 7. And the Pop game framework is fine, too.
One interesting side-effect of moving to 64 bit Windows 7. Apple iTunes performs so horribly and slowly on this platform that I finally cast off the irksome yoke by installing a patch called dopisp and removing iTunes from my machine. Dopisp acts as a plug-in for the (believe it or not) much faster and smoother (on my machine) Windows Media Player, and dopisp makes it possible to Synch the songs on my iPod… assuming you’ve converted your songs into the non-proprietary MP3 format (which can be done with iTunes or WMP). Free at last!
As of today, March 22, 2010, I’m 64! This is two-to-the-sixth-power or 1000000 in binary, or, as my old mathematician/computer-scientist friend David Slater puts it, “one million base two.”
Speaking of feeling like I’m a million years old, about six weeks ago I started having a pain in my chest when bicycling up a hill or even climbing steep stairs.
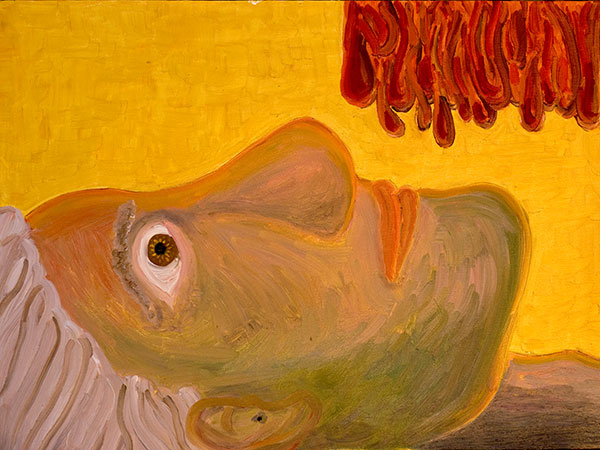
[“Heart Exam” Oil on canvas. 24″ by 18″. March, 2010. Click to see larger image.]
My doctors gave me a series of increasingly ominous exams which revealed that some of the arteries that bring blood to the muscle of my heart were clogged. My heart muscle was hurting when I exercised because it wasn’t getting enough oxygen. I did a painting, Heart Exam, to dramatize my anxiety.
(Re. the materials for this painting, it represents a switch back to oil instead of acrylic paints. Looking through my old tubes of oil paint, I found an oddball tube of metallic gold paint that I’d bought as a kind of joke. But I used that whole tube on this painting, covering the canvas with an underlayer of gold paint, and leaving the gold exposed for the empty part of the background. It gives the picture a nice icon-like quality.)
Back in the so-called real world, I discussed my options with several doctors, and in the end we settled on my getting some stents installed to open up the clogged arteries. This is a fairly routine procedure, not requiring any long hospitalization. But I had to wait a few uneasy weeks to have the procedure done.
[“Giant Octopus with A Silly Hat,” Oil on canvas. 24″ by 18″. March, 2010. Click to see larger image.]
While I was waiting and worrying and (inevitably) second-guessing our plan, I kept on painting. Painting’s a good way to turn off the voices in my head. My most recent painting, Giant Octopus Wearing a Silly Hat, helped put me in a better frame of mind.
Giant Octopus Wearing a Silly Hat emerged almost at random. I was simply fooling around with shapes and colors until I found something that I liked: a giant octopus in a silly hat that might be a washtub or a lampshade. It was only after I’d been working on this picture for a couple of days that I realized the red octopus was in fact a symbol of my heart with its troublesome arteries.
Once I’d painted myself shaking hands with the wacky octopus, I developed an inner feeling that I’d be okay.
So I had some stents put in last week, and I came home feeling lively. And now my heart doesn’t hurt when I climb a hill. So far so good—not to sound overconfident. At my age, I could still drop dead tomorrow. But that’s always true for any of us.
I’m happy today, I like my birthdays. I made it to 64, and it’s been a good run, better than I’d ever hoped.
“Thanks for everything.”
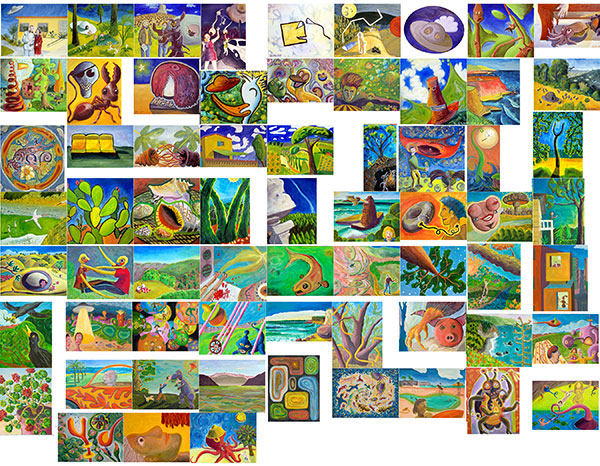
Some good news on the painting front. I’ll be having a six-week show of my recent paintings and prints in San Francisco from Friday, April 9, through Saturday, May 22. The show will be in the Variety Preview Room on the first floor of the Hobart Bldg. at 582 Market St., near 2nd St. and Montgomery St., San Francisco.
We’ll have an opening night party at the Variety Preview Room on Friday, April 9, from 6-9 PM—I’ll be posting more info as the event draws near. The room is generally open during weekdays as well, so you can view the paintings at other times. And we’ll have a closing event on Sat. May 22, from 6-10 PM, where I’ll read with author Michael Shea as part of the SF in SF author series.
Paintings and prints will be for sale at the show during the opening and closing events, or via my painting website . Thirty percent of all sales during the show will go to support Variety Children’s Charity of Northern California.